I try my best to instill in the kids that “giving” is the best part about the holidays, but when you’re 7 and 5, unwrapping toys from your wish list pretty much trumps everything. But, I have found that when I let the kids get in on the “making” part of the gifts, they are so proud of their creations and they actually can’t wait to give. So, I wanted to share a super fun holiday gift idea that your kids can help you make. It’s perfect for grandparents, aunts, uncles, or anyone that values homemade artwork from your little ones. These are our DIY snow globes and I just know that you and your kids will have a blast making these. 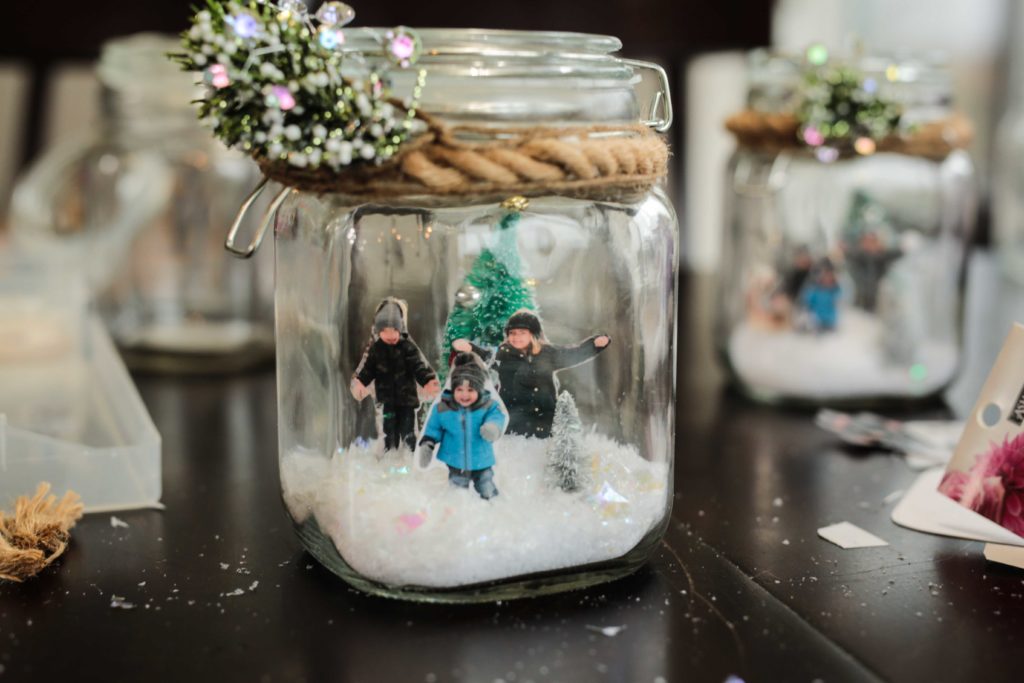
This project is perfect because once you have the supplies it comes together quick, you get to work with fake snow which kids think is messy and fun (wait to vacuum your house until AFTER this project is done), and you can put this together without breaking the bank in case you’re making multiple at one time. Here’s what you’ll need:
 clear glass jars that have a lid
I typically get these from our local Michael’s store. You want something with a wide enough opening on top that you can fit things inside and also something with clear glass so that you can easily see through it. Try to find one with the flattest bottom because you’ll want that space for your scene.
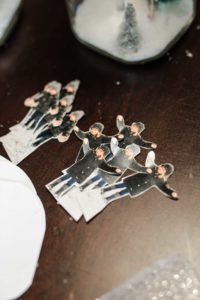
photos of your subject in the snow
Since this is a snow globe, I think it’s best to take photos of your kids with their winter gear on so that it matches the theme, but you totally don’t have to! You just need to make sure that if you are placing multiple subjects in your snow globe that all of the photos are relatively the same proportion. Print a few extras too. You’ll be cutting out the subjects in a silhouette and you want to have a few back-ups in case the kids get a little crazy with the scissors!
popsicle sticks
I use popsicle sticks as my support for standing up the photos in my globe. I’ve also tried foam core board as a backing for the photos, but found that it’s too difficult to cut this in the shape of your people, so resorted back to the popsicle sticks.
tiny treasures to match your theme
You’ve probably seen some of the teeny tiny holiday decorations at stores already this year and wondered what people use them for. Until we did this project, I always wondered that too. Anyway, stores like Hobby Lobby and Michael’s are my favorite for gathering up tiny things for the globes. You can find trees, tiny sleighs, reindeer, etc. My kids think that picking these out is the best part and you can totally let them get creative and make each globe a little different.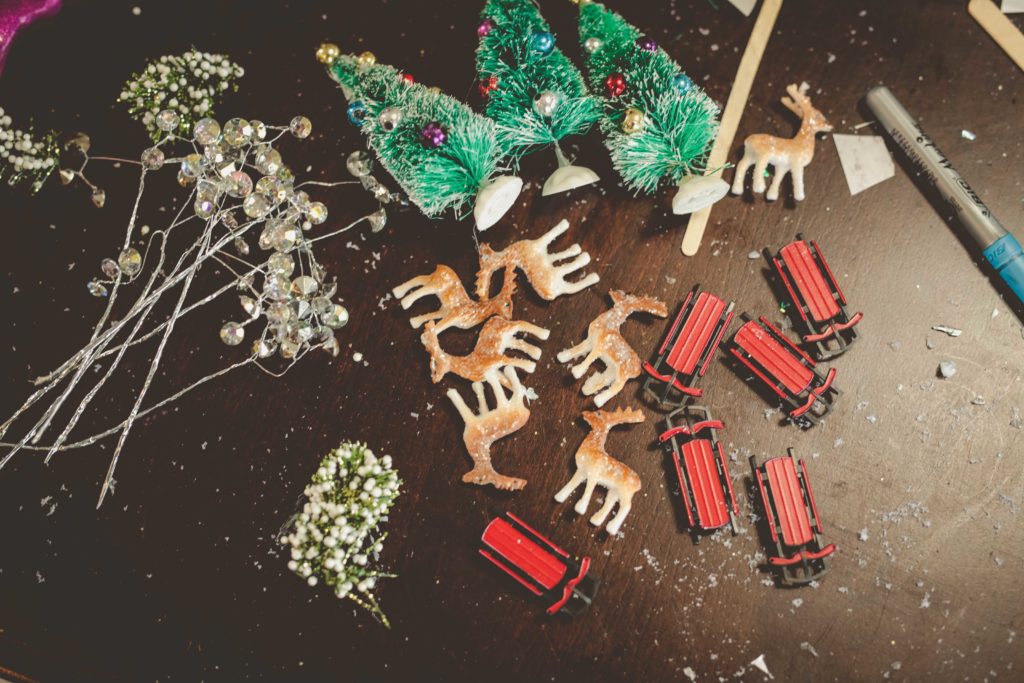
fake snow
You’ll need fake snow for the bottom of your globe. I like to find the kind that’s super light, fluffy looking, and has a little bit of iridescent sparkle to it. It only adds to the magical look of the globe.
hot glue gun
I use hot glue to put everything together for this project. It’s the easiest way to make the popsicle sticks stand straight up in the bottom of your globe. It also dries fast and holds everything securely.
greenery, ribbon, gift tag, etc.
The final thing for your shopping list would be some pizazz to add to the outside of your globe once you close it up. I think it finishes it off and makes it look more like a present to put some ribbon around the top, add some holiday greenery, or even a gift tag that has the year on it.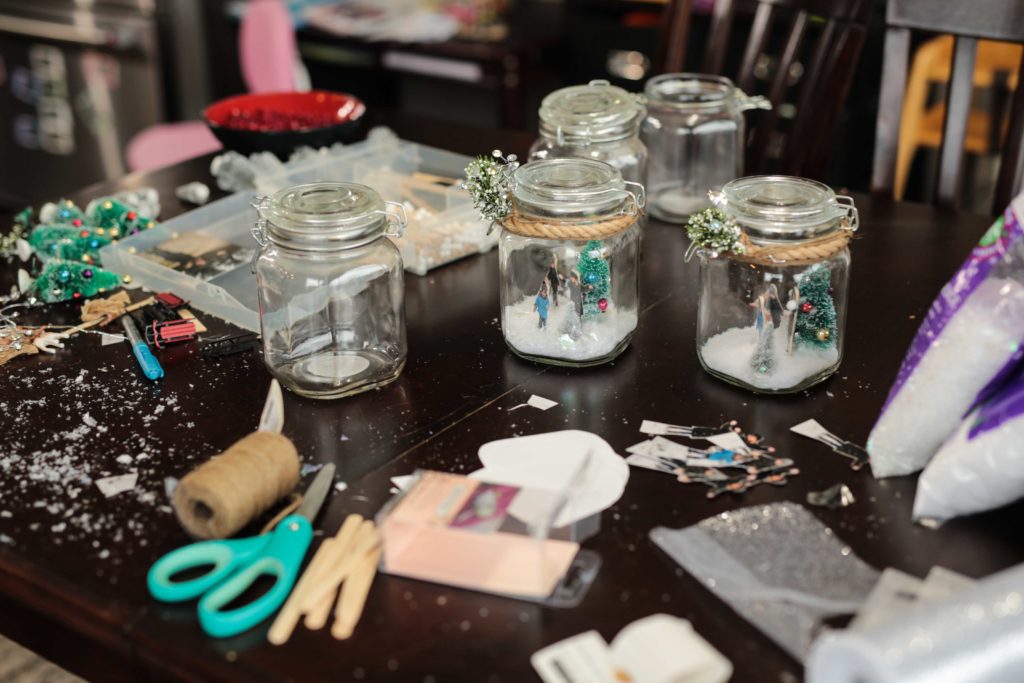
So, once you have all of your supplies ready, you can move on to the fun part! The first thing you’ll want to do is cut out your silhouette pictures. Make sure to leave about an inch of picture on the bottom (see my example photo) because once you glue it in, you’ll have a layer of snow on the bottom of your globe that will cover the lower part of your silhouette. Next, hot glue in all of your tiny treasures! Don’t worry at all about being messy with the hot glue (make sure to use a lot) because it’ll get covered anyway. We’ve even made fun little scenes where we hot glued tiny white puff balls into the kids’ hands so it looks like they are having a snowball fight inside the globe! Once your scene is all set, fill your globe with about an inch of fake snow on the bottom. I love this part because it really makes everything inside look magical – wait until you see your kids’ reaction to this part. Now it’s time to close up your globe. I like to add a little bit of decoration around the top of the jar to make it look finished. Now, sit back and revel at the fact that you just made a Martha Stewart quality craft WITH your kids that they will be so excited to gift.
Happy Holidays! Love, Erin

